Show a feed with uploaded files
Creating feeds with uploaded files (images and video) is available in our Plus plan only.
The Custom file uploads feature on Instafeed - Instagram feed lets you manually upload images or videos to your feeds, helping you create a more cohesive, brand-aligned feel. Read this guide to learn how to create and manage feeds with uploaded files on Instafeed.
Step 1 - Upload files to Instafeed
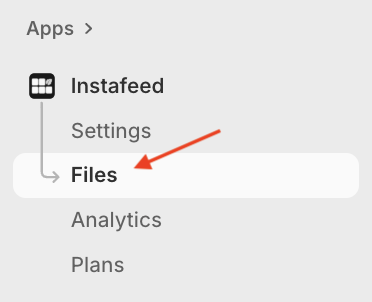
To upload files to show on your feed, go to Instafeed > Files.
Under Custom file uploads, drag and drop files into the upload box, or click Add files to select them from your device.
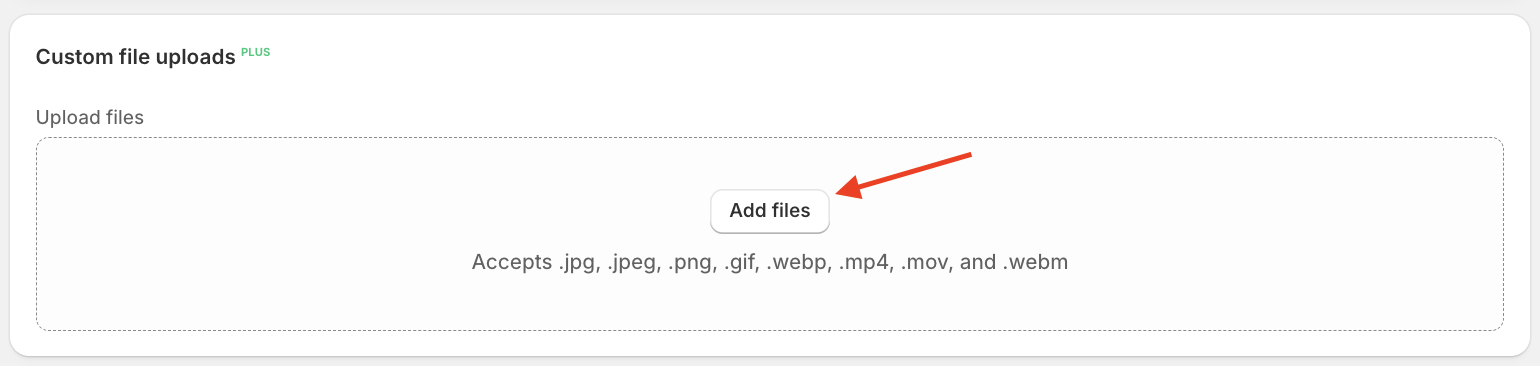
Important note: Make sure files are one of the accepted types:
Images: .jpg, .jpeg, .png, .gif, .webp
Videos: .mp4, .mov, .webm
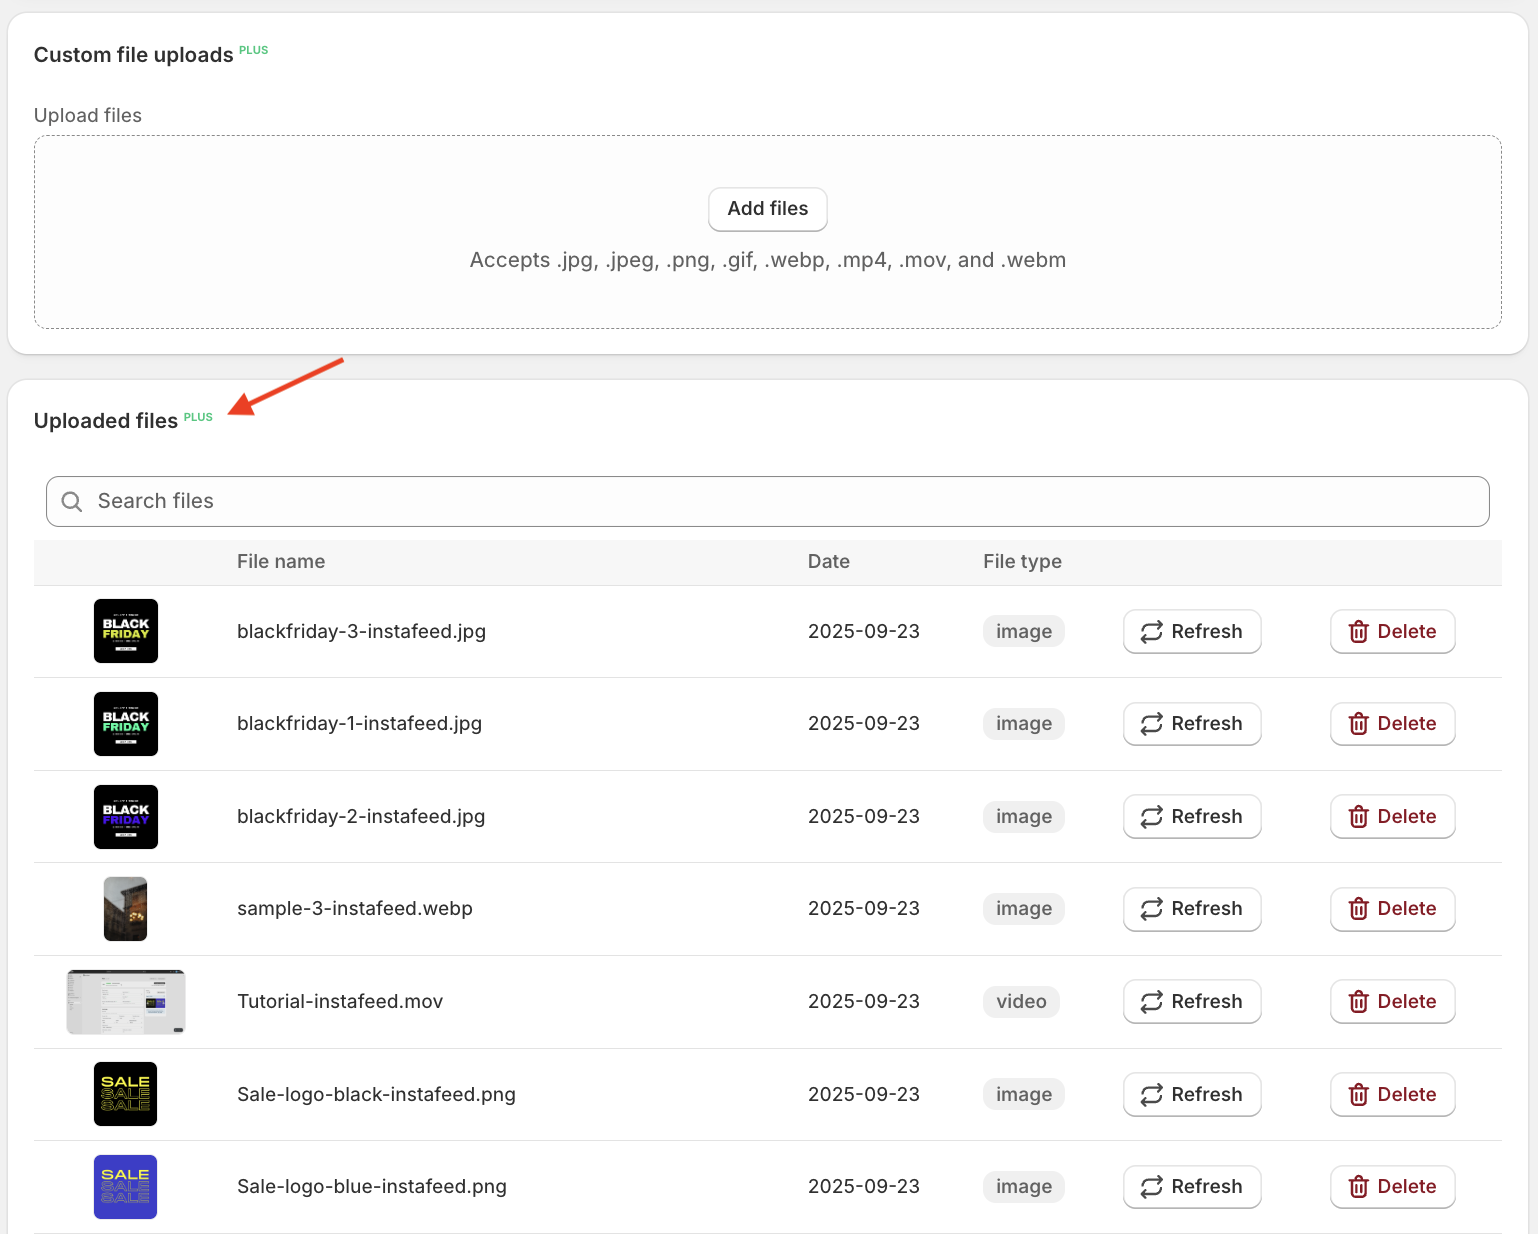
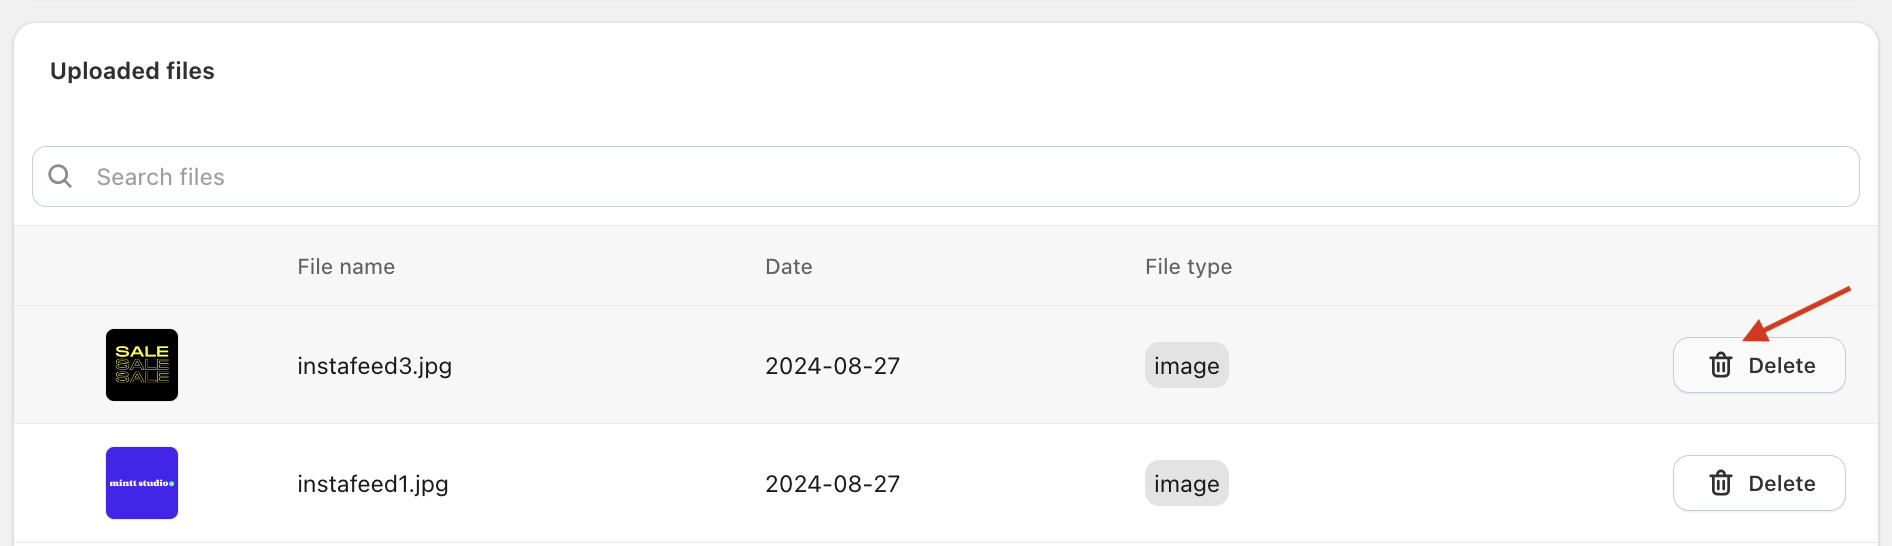
The uploaded files will appear under Uploaded files.
Files uploaded in Instafeed are also automatically added to your Shopify Files (Content > Files).
Step 2 - Create a feed with uploaded files
Go to Shopify > Apps > Instafeed.
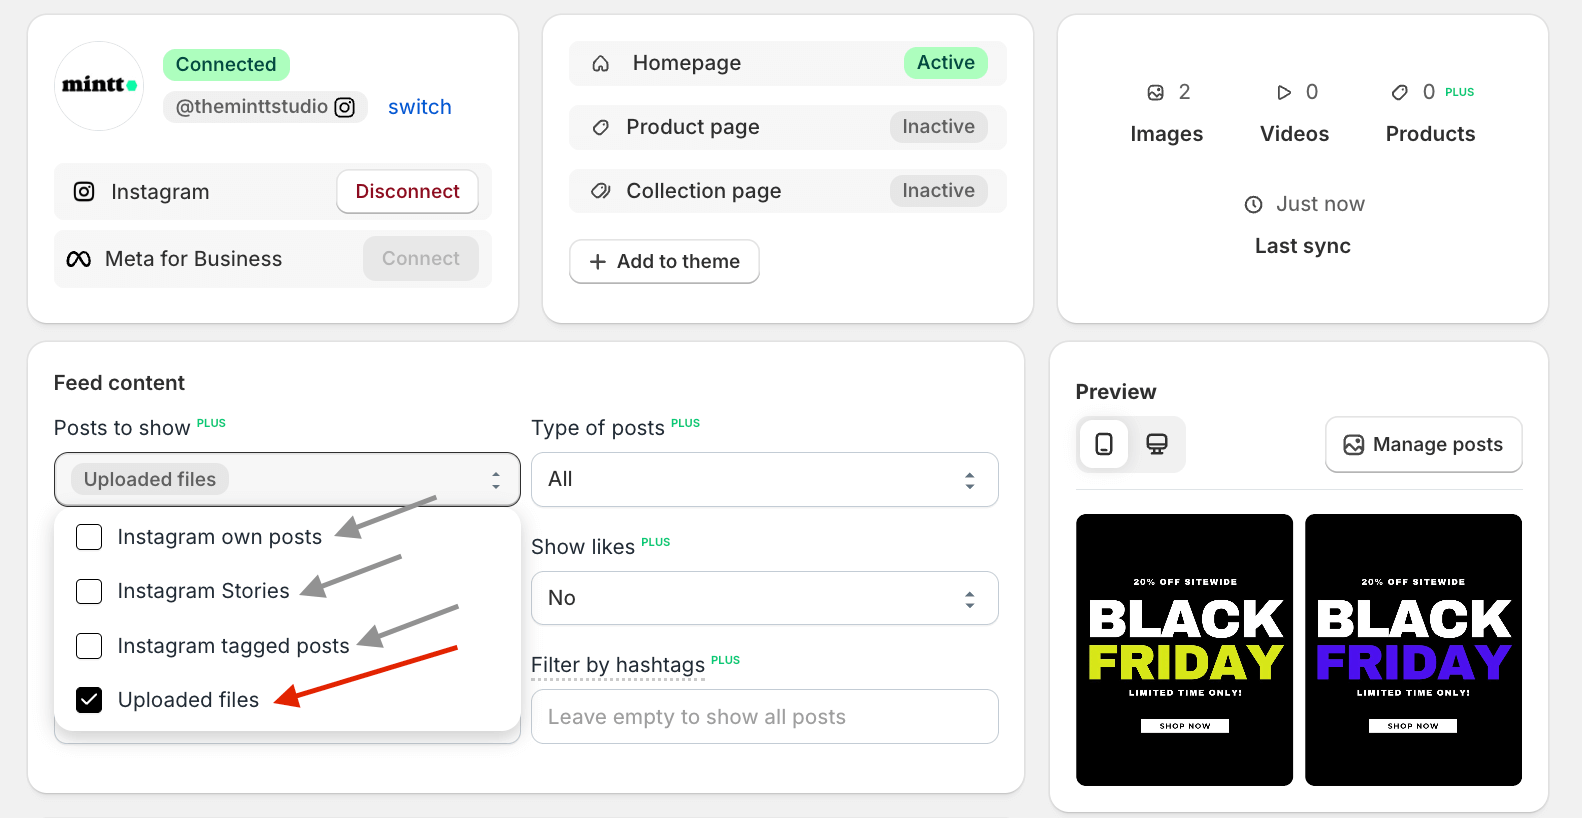
Under Posts to show, select Uploaded files to create a feed with uploaded files only.
To create a feed with uploaded files and Instagram content like your own posts, stories, or tagged posts, simply select the desired options from the dropdown menu.
Click Save feed.
How to manage files
You can delete files, change their date, and add captions. In your Shopify admin, go to Apps > Instafeed > Files and follow the steps below.
Delete files
To delete a file, click Delete.
⚠️ Deleting files from the Instafeed - Instagram Feed app will also delete files from Shopify Files.
Change date
To change the date of a file, click on the file.
Select the new date from the calendar.
Click Save.
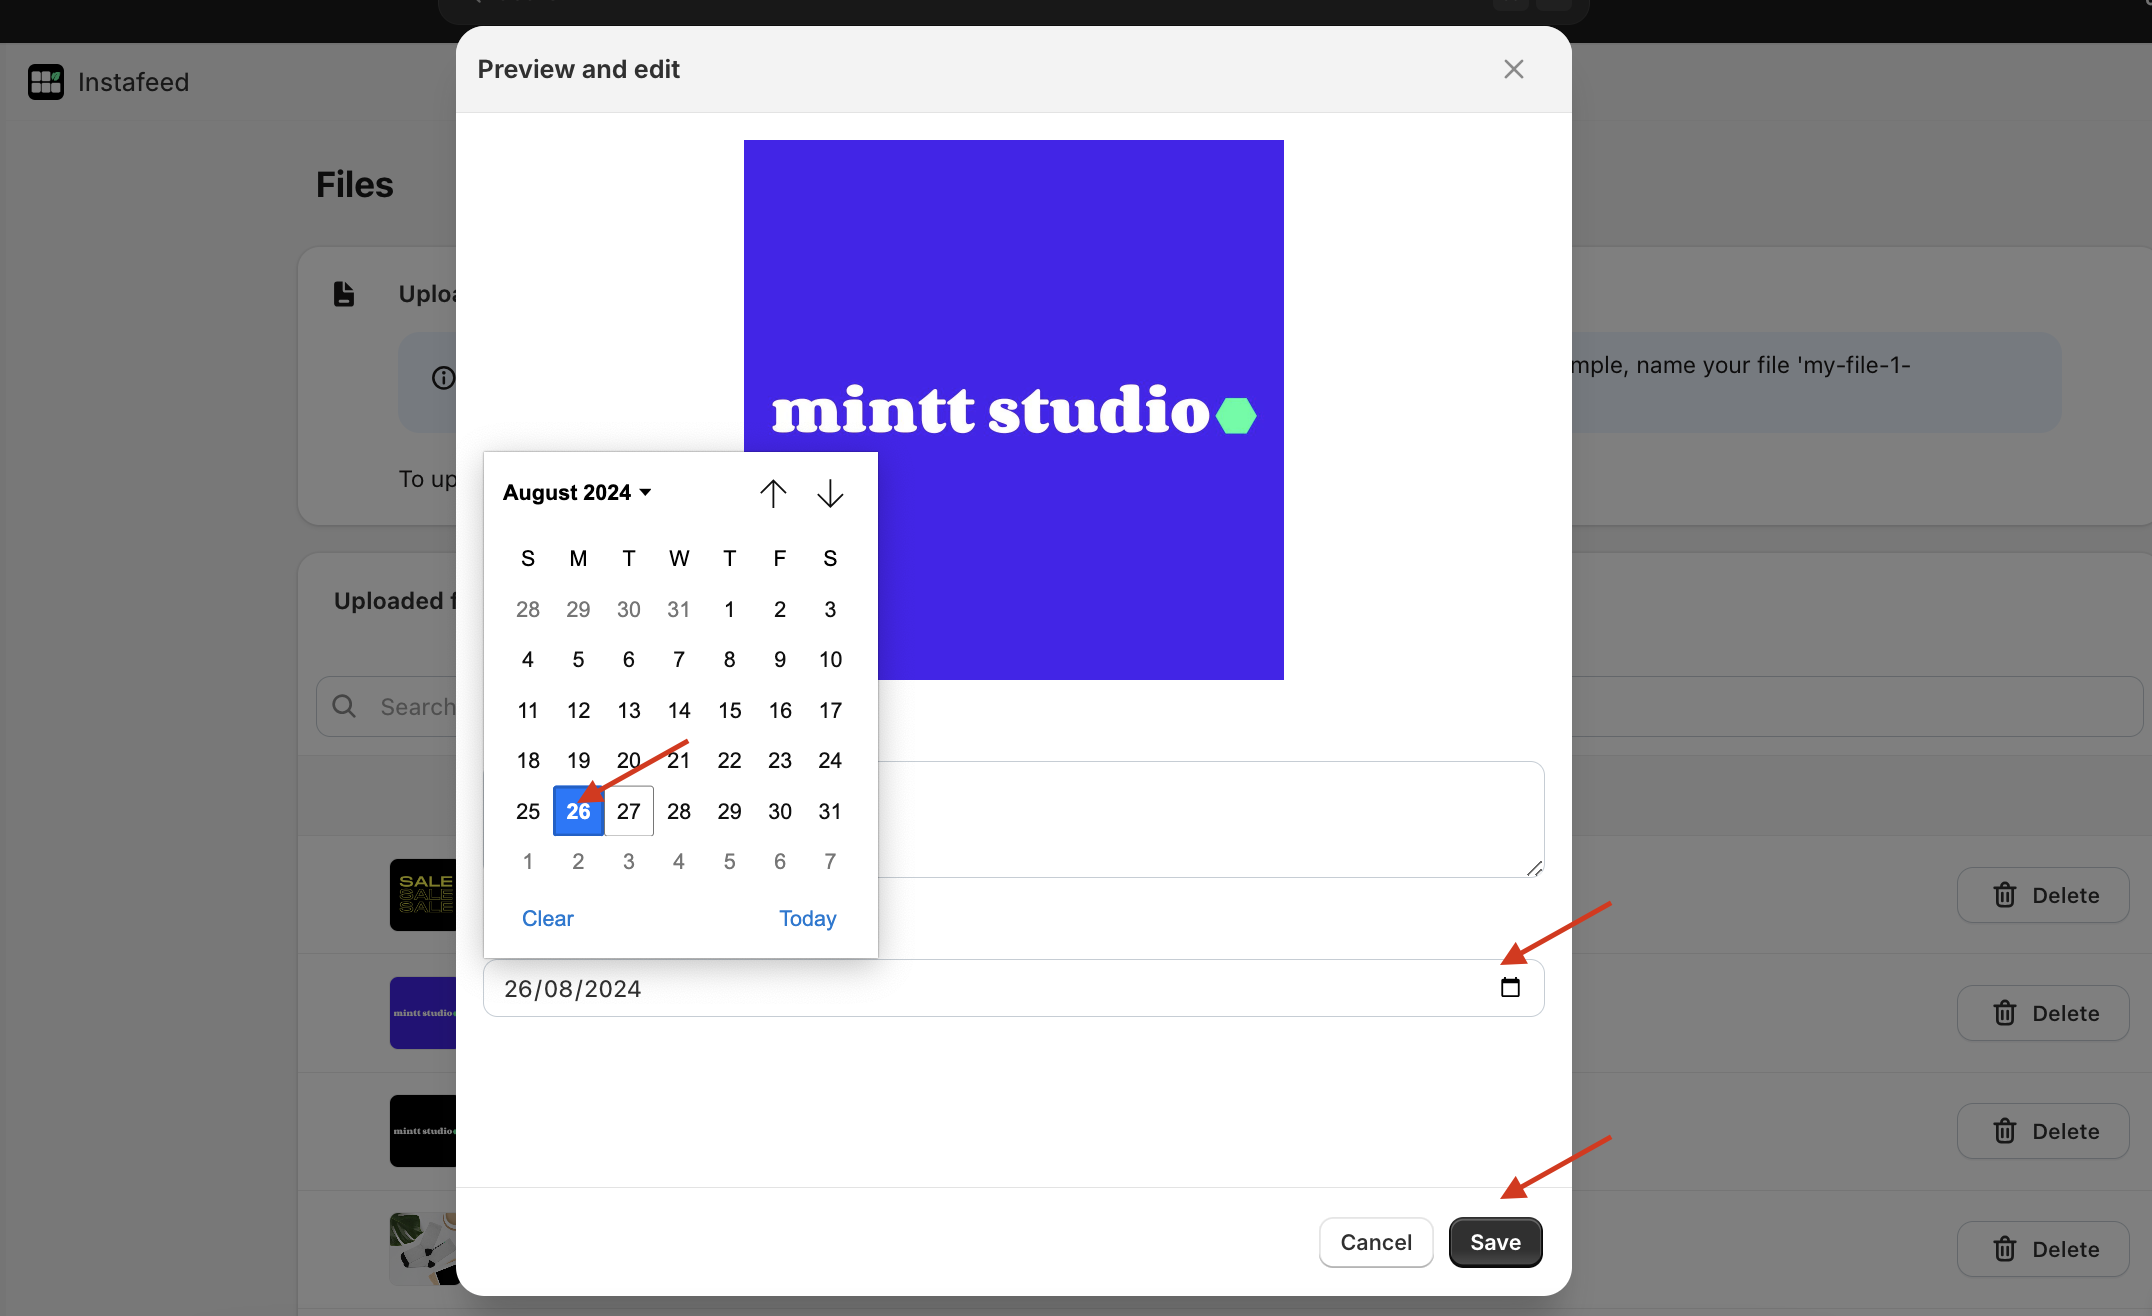
Posts appear on your feed in chronological order. Changing a file's date will change the order in which it appears on your feed.
Add caption
To add a caption to a file, click on the file.
Write the desired description on the Caption text box.
Click Save.
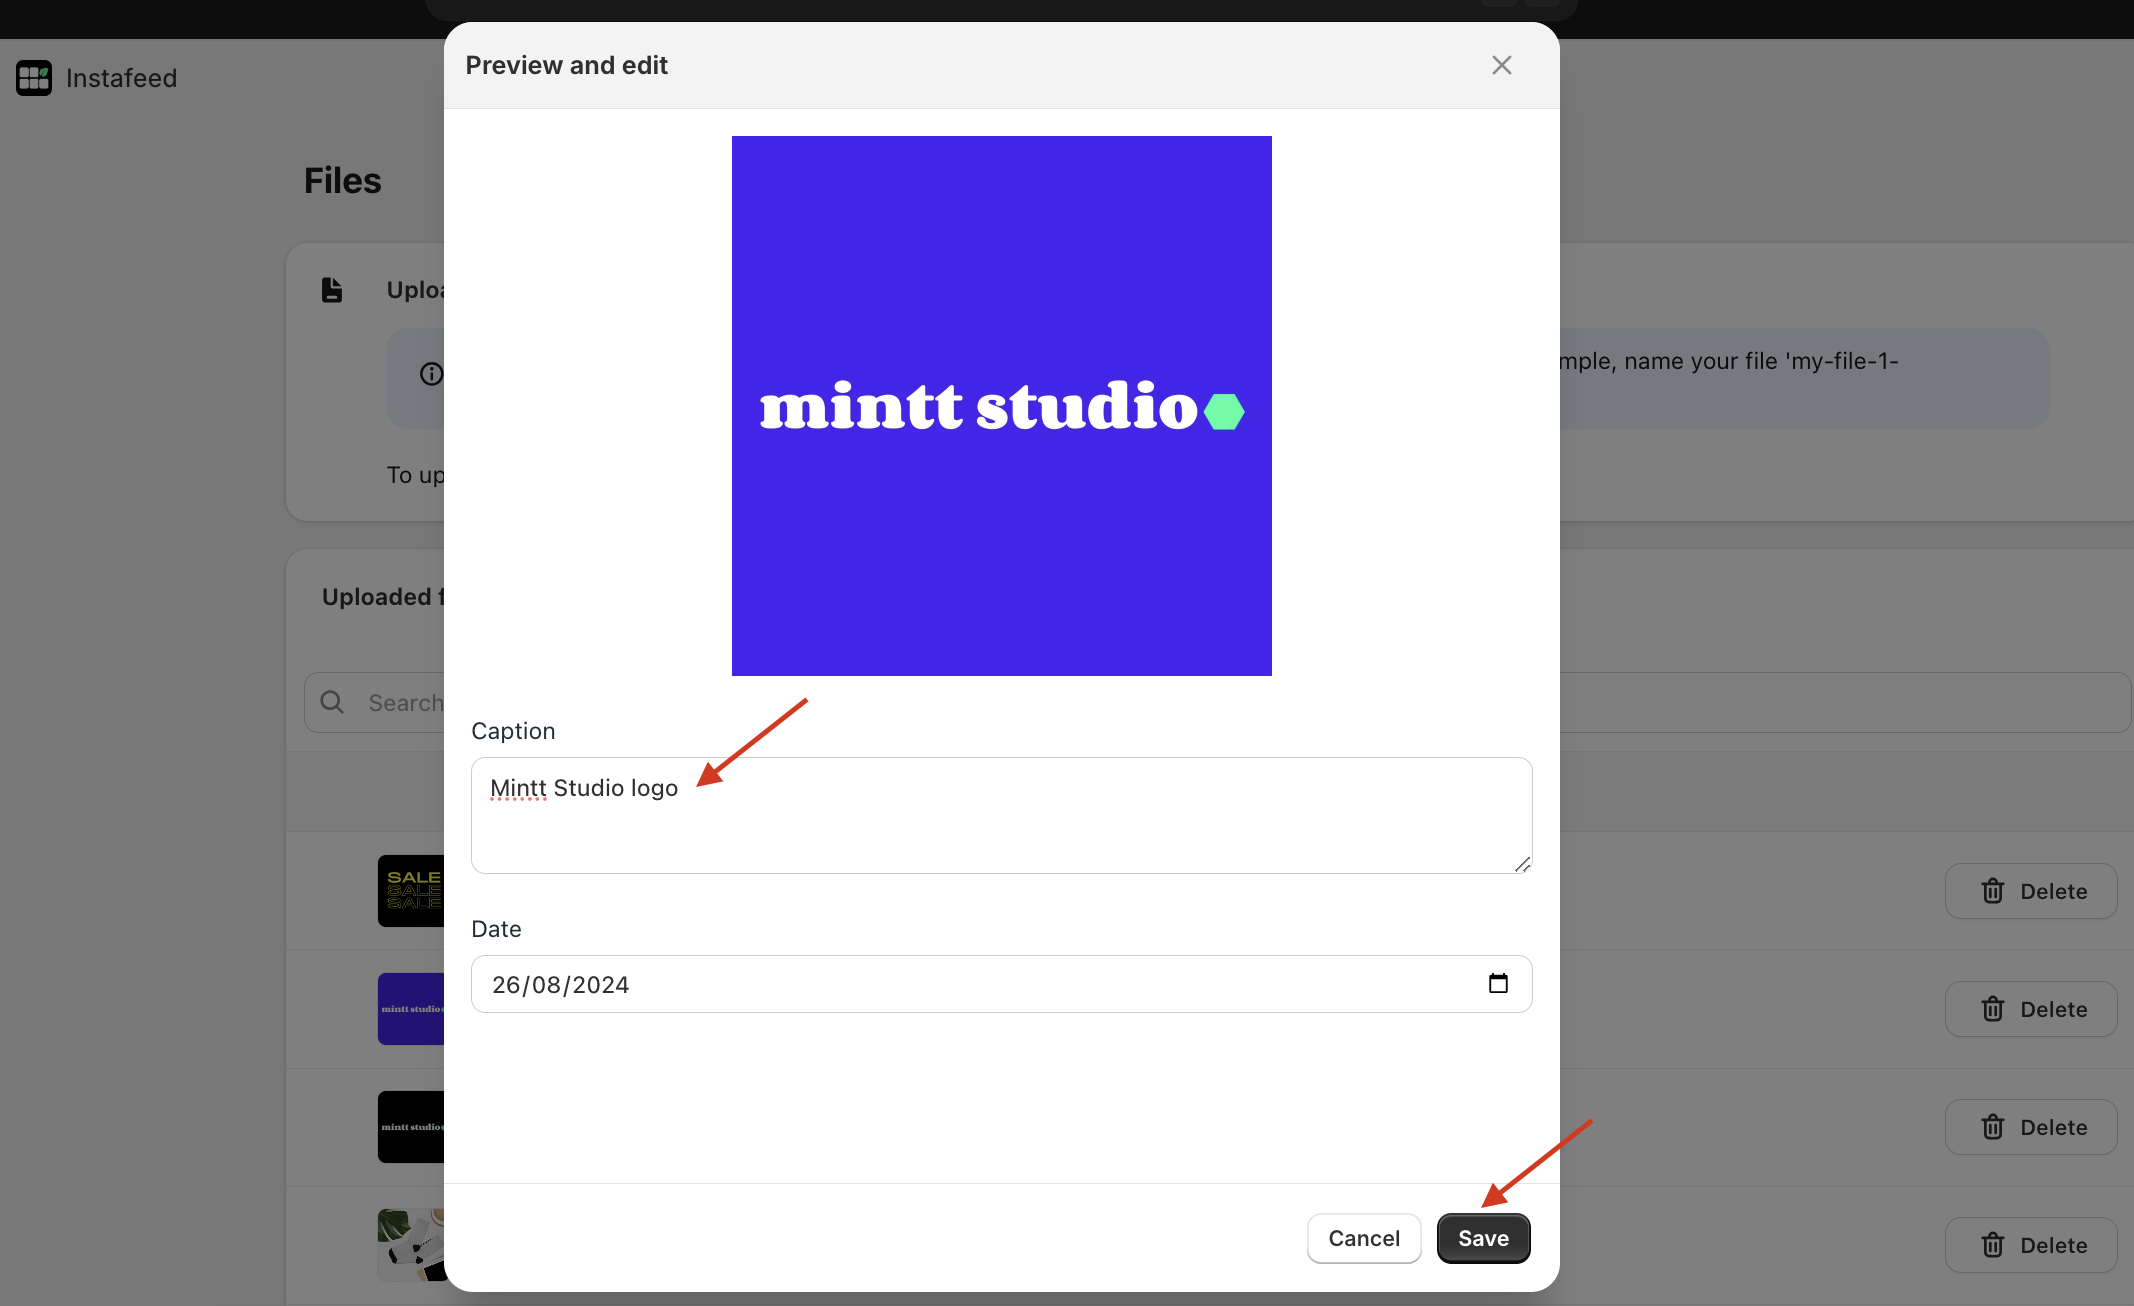
You can include hashtags in each caption, which can then be used with the Filter by hashtags feature.